Follow the step-by-step cooking instructions below:
STEP 1:
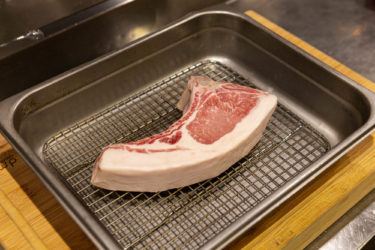
1 hour before you intend to cook, unpackage the pork chops. Remove the fabric bone guard, and place them on a rack (or on a plate or paper towel).
STEP 2:
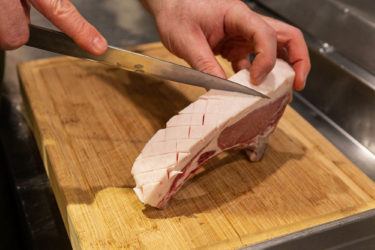
Using a sharp knife, score the fat on the outside of each chop. Make a cross-hatch pattern, about ½ cm wide, cutting all the way through the fat down to the flesh. Don’t score too deep, but make sure that the fat has been cut all the way through.
STEP 3:
Cover with a piece of paper towel, and allow to come up to room temperature (at least 1 hour).
STEP 4:
Season well with salt & cracked toasted black pepper. Gently press the salt & pepper into the meat & fat.
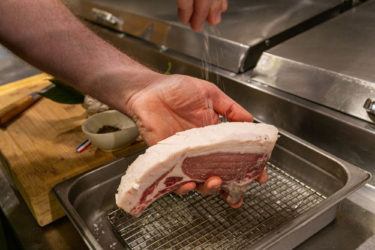
STEP 5:
Place the pork fat-side-down in the cast iron pan, cold. If it won’t stand up on its own, use a couple pieces of potato to hold it up (they will be delicious when they’re done).
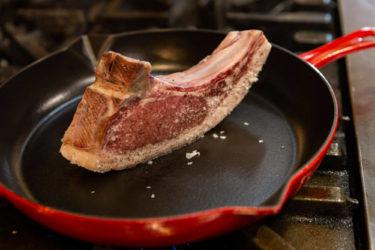
STEP 6:
Put the pan on a burner, on low. Let it come up to temperature very, very slowly. The fat on the chop will begin to render out. It is important to allow this to happen slowly. If you hear sizzling, or if the fat is beginning to crisp or turn brown, turn the heat down.
STEP 7:
Move the chop a bit if you need to get the fat cap rendering evenly.
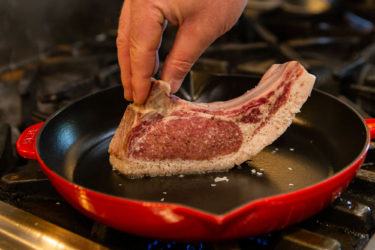
STEP 8:
While you’re waiting, get your herbs & garlic ready. 2-3 sprigs of thyme, 2-3 bay leaves, 2-3 garlic cloves, cracked on the cutting board (skin-on is ok).
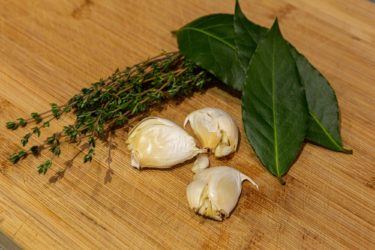
STEP 9:
Once the fat is mostly rendered, and has begun to turn golden brown, remove the chop from the pan. Most of the fat cap will have disappeared, and the layer of fat will be crispy and delicious-looking. Pour a little of the rendered fat into a heat-proof dish. Don’t discard it!
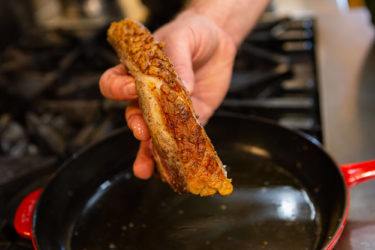
STEP 10:
Turn your burner up to medium-high. Wait for the pan to just barely begin to smoke. Put the chop flesh-side down in the pan and sear. Give it 2-3 min until golden brown. Turn and repeat.
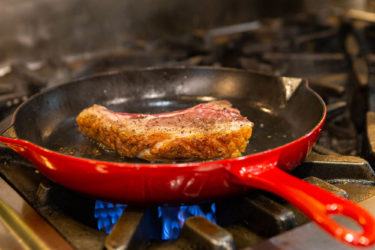
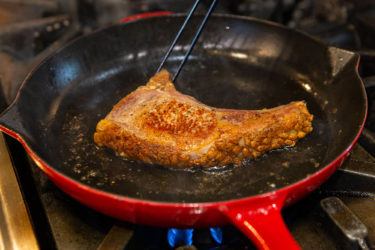
STEP 11:
Turn your temp down, so the chop and the fat in the pan don’t scorch.
STEP 12:
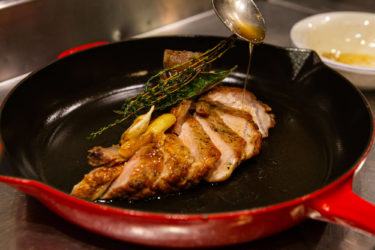
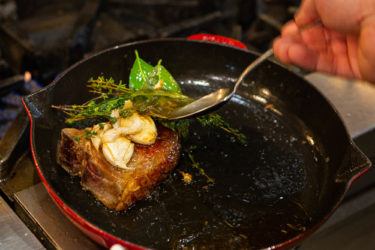
Add a bit of the reserved pork fat, and toss in the thyme, bay leaf, and cracked garlic. They’ll frizzle and crackle, aromatizing the fat in the pan. Once they’re crackled and crispy, use a spoon to put them on top of the chop. Using the same spoon, baste the chop with the aromatized fat. Basting allows you to direct the hot fat to areas of the chop that didn’t get direct heat, especially the bone.
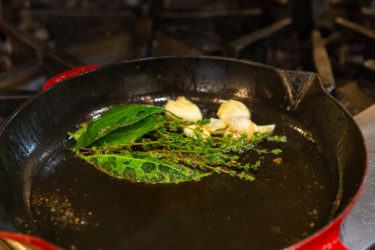
STEP 13:
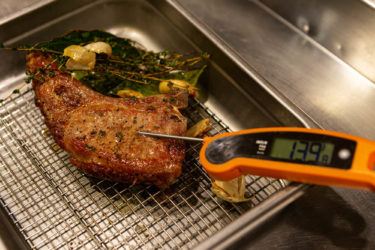
Check the internal temperature of the chop. Be cautious about overcooking at this point. We’re looking for an internal temperature of approximately 130°F, or 54°C. The temperature will rise due to “carry-over” as the heat from the exterior works its way into the chop. Keep in mind the edge of the chop will be more cooked, and it’ll be less cooked by the bone. You want it to be pink and warm throughout.
STEP 14:
Turn and baste until the chops come up to medium. Once they’re at temp, take the chops out of the pan and let them rest. Rule of thumb here is 5min per inch of thickness at least.
STEP 15:
Make sure you save the fat in the pan! It’s too delicious to waste. Use for roasting vegetables or potatoes, or for cooking eggs, or mushrooms.
STEP 16:
To make a quick pan-sauce, deglaze the good bits in the pan with a splash of white wine. Adjust seasoning with a bit of salt if needed.
STEP 17:
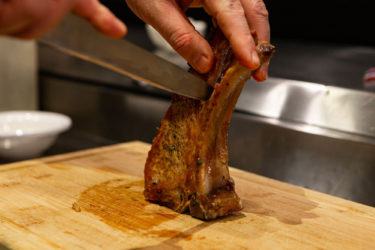
After the rest, carve your chops off the bone, and then into 1 cm slices, seasoning them with a bit of that good salt, and spooning over a bit of the pan sauce. For extra richness, drizzle with some of the reserved fat from the pan.
